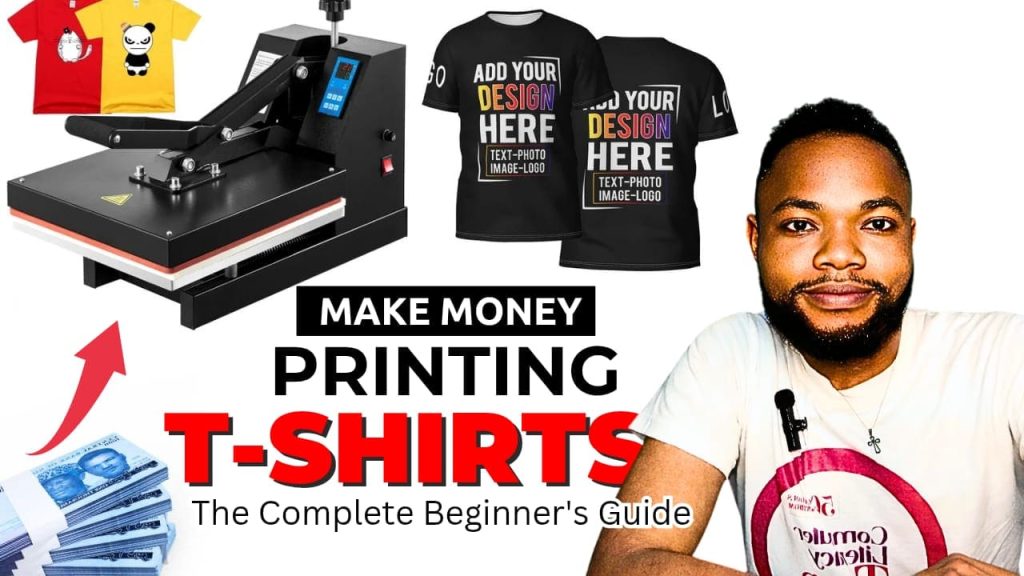
I still remember the first shirt I ruined on a heat press. That was a very delicate fabric that I was supposed to handle with much attention. And countless times my designs peel off after printing when I just started as a beginner. Some of my customers would never came back because of this. That was serious! Nobody told me that pressing a shirt is not the same as ironing one. And that gap between “it looks simple” and “it actually works” is where most beginners lose money before they earn their first pay from this skill.
If you’re reading this, you probably just bought a heat press, or you’re about to start a t-shirt printing business. Maybe you’re in Lagos, Nairobi, Accra, Johannesburg, or somewhere far outside Africa entirely, and you’ve seen how customized shirts, caps and mugs move fast in your market. Good instinct. But a heat press machine is not magic. It’s a tool. And like every tool, it rewards the person who understands it and punishes the person who doesn’t.
This guide walks you through exactly how to use a heat press machine from your very first press to the settings that actually work, plus the mistakes that quietly kill quality even when everything looks fine on the surface.
What a Heat Press Machine Actually Does (and Why a Pressing Iron Won’t Replace It)
A heat press works on three things at once: heat, pressure and time. It clamps your design onto a fabric or surface with even pressure across the whole platen, holds a consistent temperature, and keeps that pressure for a set number of seconds. That combination is what bonds the ink, vinyl or transfer film permanently to the material.
A household iron cannot do this properly. It applies heat unevenly, you’re guessing at pressure with your arm strength, and the moment you lift it, both heat and pressure disappear together. That’s why iron-on transfers peel after one wash and heat-pressed transfers, done right, survive dozens of washes. If you’ve ever wondered why some printed shirts fade or crack after a few weeks while others hold their color for years, the answer usually traces back to whether a proper heat press was used and whether it was used correctly.
The Types of Heat Press Machines You’ll Run Into
Before you press anything, know what you’re working with, because the machine shapes what you can produce.
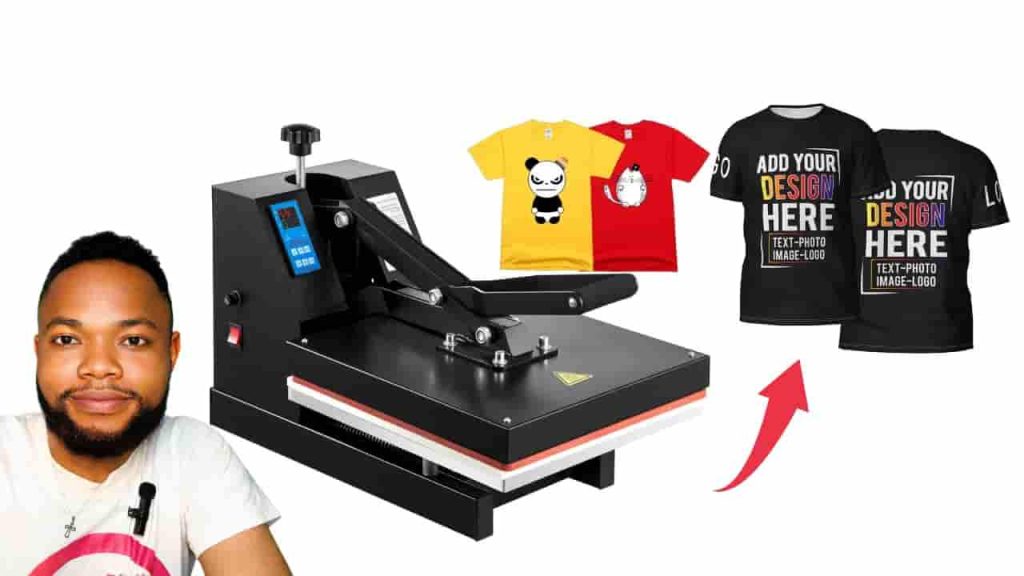
Clamshell presses open like a shell and are the most common entry point for beginners because they’re compact and affordable. Swing-away presses lift the top plate completely off to the side, which protects your hands and gives you a clearer view of your placement, useful once you start doing detailed designs. Then there are specialty presses built for mugs, caps, plates and tumblers, which use curved or shaped platens instead of a flat one.
If you’re starting a small custom printing business, a flat clamshell press handles shirts, tote bags and hoodies well enough to get you moving. You can add specialty presses later once you know which products your customers actually want.
What You Need Before You Press Your First Item
Get these ready before you even plug in the machine. You’ll want your heat press itself, a heat-resistant cover sheet such as Teflon or parchment paper, your blank item (shirt, cap, mug, tote bag), your design already cut or printed on transfer material, and a heat-resistant tape to hold vinyl designs in place. A lint roller helps too. Dust and loose fibers on a garment cause tiny blue specks or uneven spots on your final print, and that’s an easy problem to avoid.
Step-by-Step: How to Use a Heat Press Machine
Here’s the process, broken down the way I’d walk a friend through it in person.
Preheat the press first. Turn it on and let it reach your target temperature before you touch your garment. Pressing on a machine that hasn’t fully heated is one of the fastest ways to get a half-bonded, peeling print.
Pre-press the blank item. Place your shirt or fabric on the lower platen and give it a quick three to five second press with no transfer on it. This removes moisture and wrinkles that would otherwise trap air under your design and cause bubbling.
Position your design. Lay your transfer, vinyl or sublimation paper exactly where you want it. Use heat-resistant tape to hold it in place, especially for anything with multiple pieces or fine detail. A design that shifts even five millimeters during pressing is a design you’ll be redoing.
Add your cover sheet. Place Teflon paper or parchment paper over the design before you close the press. This protects your top platen from adhesive residue and prevents scorch marks.
Close and press. Bring the top plate down and lock it, applying the pressure your material calls for. Start your timer the moment the press is fully closed, not before.
Time it precisely. Don’t eyeball this. Two seconds too short and your bond is weak. Ten seconds too long and you risk scorching or “glazing,” where the surface goes shiny and stiff. A cheap digital kitchen timer solves this problem completely.
Open and peel correctly. Some transfers need a hot peel, right after the press opens. Others need a cold peel, where you wait until the material cools completely. Check your specific transfer material’s instructions, because getting this backward is one of the most common beginner errors and it will cost you a finished product.
Let it rest. Fresh prints are more vulnerable to friction and stretching in the first hour or so after pressing. Let the item sit flat before folding or packing it.
Getting Your Temperature, Time and Pressure Right
This is where most beginners either overheat their fabric or underheat their transfer, and both mistakes look identical until you wash the item and watch the print fall apart. Settings shift depending on your material, so treat the numbers below as a starting point, not gospel, and always check the specific instructions that come with your transfer film or vinyl.
Notice the pattern. Sublimation runs hotter and longer than vinyl or DTF, because it’s not just bonding a film, it’s turning solid dye into gas that penetrates the fibers of the fabric itself. That’s chemistry, not guesswork, and it’s why sublimation only works well on polyester and poly-coated blanks, not on cotton.
Common Beginner Mistakes That Ruin a Good Print
Skipping the pre-press is the biggest one. Moisture trapped under your design shows up later as bubbling or lifted edges, and by then it’s too late to fix without redoing the whole job.
Guessing your temperature instead of testing it is another. Cheap heat presses can run noticeably hotter or cooler than what the display shows. An infrared thermometer costs very little and removes the guesswork entirely. If you’re running a business on this machine, that small investment pays for itself the first time it saves you a batch of shirts.
Pressing over seams, zippers or buttons without a heat press pillow underneath is a mistake I made more than once early on. Those raised areas create dead zones where the rest of your design doesn’t get proper contact, and you end up with a patchy, half-bonded print right where it’s most visible.
And the peel timing mistake I mentioned earlier deserves repeating because it’s that common: hot peel and cold peel are not interchangeable. Pull a cold-peel transfer while it’s still hot and you’ll watch your design lift right off with the carrier sheet.
Turning the Skill Into an Actual Business
Once you’ve got the mechanics down, the real opportunity opens up. Custom printed apparel, caps, mugs and event merchandise have steady demand across African cities, from university branding and church anniversaries to corporate gifting and small fashion labels wanting low minimum-order runs. The same skill translates just as well outside Africa, where personalized products, small-batch merch and local print shops remain a consistent small-business category.
The advantage of heat press work specifically is that it doesn’t demand a factory-sized investment to start. A single decent clamshell press, a stack of blank shirts and a working design file are enough to test the market in your area before you scale up to bigger machines or specialty presses for mugs and caps.
What separates the people who build something lasting from the people who quit after two bad batches usually isn’t talent. It’s whether they treated those first ruined shirts as tuition rather than failure, wrote down what went wrong, and adjusted their temperature, time or pressure the next round.
Before You Press Your Next Item
Test on scrap fabric whenever you switch materials or brands. Keep a small notebook or note on your phone with the exact settings that worked for each type of transfer you use. And resist the urge to rush the timer just because you’re busy. The seconds you save by cutting a press short usually cost you the whole item, plus the customer’s trust.
That’s the real skill behind a heat press machine. Not the machine itself, but the discipline to respect what heat, time and pressure are actually doing underneath that cover sheet.