Imagine you are designing a promotional flyer for a fashion brand. You have a very nice photo. But placing it just like that on the design will make it look like a normal rectangular photo. However, in your mind you want the picture to fit into into a circle, custom shape or even the brand name itself.
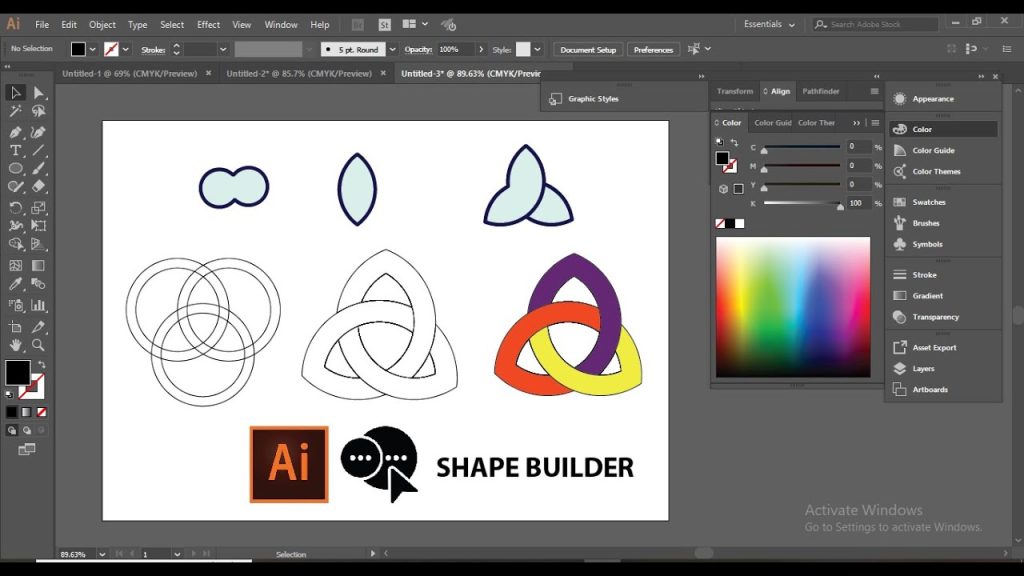
You don’t need to erase or redraw some part of the photo to achieve the shape you want. In that case, Adobe Illustrator has a tool that helps you achieve that. It is called the Clipping Mask. I have already covered how to use the Shape Builder Tool in Illustrator, which is still important for you to learn if you are a beginner to Illustrator.
After you learn the basics of clipping masks, you can use them to create photo-filled text, shaped images, product label designs, logos and more polished layouts.
This guide takes you through the process of using the tool with some practical examples you can try on your own. The reason I teach you this basic tools is because you will need them in your design projects, whether it is for social media or for print.
What Is a Clipping Mask in Adobe Illustrator?
A clipping mask determines what parts of an object are visible. It uses a vector path as a boundary, hiding artwork outside that boundary while preserving the underlying content for further editing.
Imagine that you are viewing a large picture through a small window. You can only view what’s within the window, but the photograph itself has not been cut apart.
The outline of what is visible is known as the clipping path. It should be positioned on top of the art work to be masked.
As a beginner, you can place a photograph inside a shape, filling text with an image, and cropping several design elements into one defined area.
For more information on the Adobe clipping masks feature refer to Adobe’s official guide on how to use clipping masks.
How to Create a Clipping Mask in Adobe Illustrator
Step 1: Add Your Image
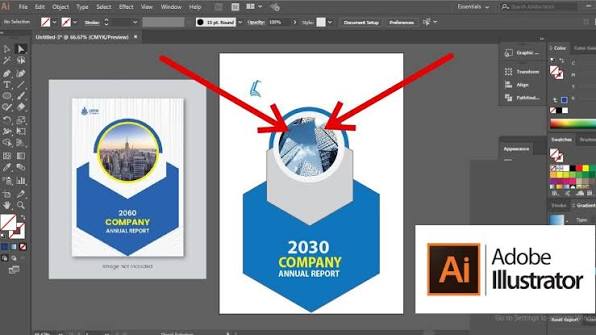
Open up Illustrator and create a new document. Choose File → Place, locate the photograph you want to use, and click Place. Click or drag on the artboard to position the image.
Resize it if necessary. Make sure it is large enough to cover the area you want to display inside your mask.
Step 2: Draw the Shape for Your Mask
Select the Ellipse Tool from the toolbar or press L on your keyboard.
Hold Shift while dragging to create a perfect circle. Position the circle over the part of the photograph you want to keep visible.
You can use a rectangle, star or custom shape instead. The process remains essentially the same.
Step 3: Bring the Mask to the Front
The clipping path must sit above the artwork you want to mask.
Select the circle, then choose Object → Arrange → Bring to Front.
This ensures the circle is positioned above the photograph in the stacking order.
Step 4: Select Both Objects
Choose the Selection Tool by pressing V.
Click the circle, hold Shift, and click the photograph. Alternatively, drag a selection box around both objects.
Check that both the mask and the image are selected.
Step 5: Make the Clipping Mask
With both objects selected, choose:
Object → Clipping Mask → Make
You can also use the keyboard shortcut:
- Windows: Ctrl + 7
- macOS: Command + 7
Your photograph should now appear inside the circle, with the surrounding parts hidden.
Congratulations! You have created your first clipping mask.
How to Put an Image Inside Text
Clipping masks are also useful for creating photo-filled text. It is effective for posters for events, social media designs with attention-grabbing headlines, fashion campaigns, and music album artwork.
First, add a photo to your artboard. Select a picture that has some detail and contrast so that the letters will be readable.
Click on the Type Tool (T) and enter a word, e.g., STYLE. Use a large font size and letter size to give ample space for the photo. Always use a short and bold font. A heavier font usually makes the photograph easier to see inside the letters.
Place text on top of the photo. The text should be above the image.
Select both the text and image then choose Object → Clipping Mask → Make. Or press Ctrl + 7 on Windows or Command + 7 on macOS.
Your picture should now be in the letters.
If the effect does not work as expected, check that the text is above the photograph. Also confirm that both objects are selected. You can also use the Layers panel to inspect their stacking order.
How to Edit a Clipping Mask After Creating It
Using the clipping mask has an advantage because they do not permanently delete the hidden parts of your image. It allows you to adjust the mask or the content later.
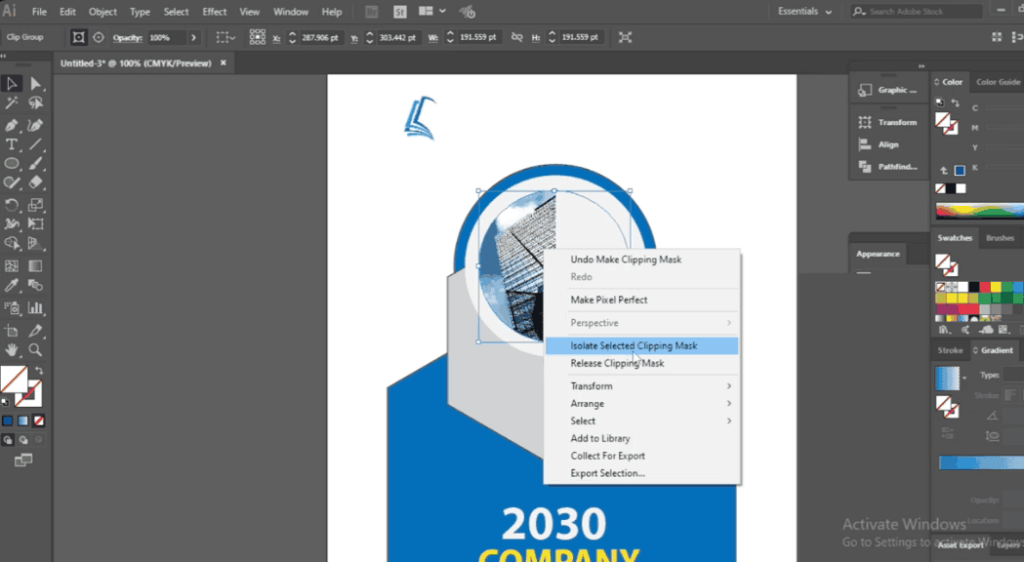
To reposition the photograph inside the circle, double-click the masked artwork to enter Isolation Mode. Select the photograph and move it until the desired area appears inside the shape.
If you want to change the mask itself, select its path and adjust its position or anchor points using the Direct Selection Tool, which you can activate by pressing A.
When you’re done, press Escape to leave Isolation Mode.
This gives you the flexibility tweak your design without having to start over again.
How to Release a Clipping Mask
If you want to return to your original objects, select the clipping group and choose Object → Clipping Mask → Release.
What happens there is that Illustrator removes the masking relationship and restores the objects to an editable state. The clipping path may appear invisible because it has no fill or stroke. So do not assume it has been deleted.
You can select it in the Layers panel and apply a fill or stroke if you want to use it again.
Common Clipping Mask Problems and Solutions
Problem 1: Clipping mask is not being applied. Ensure that the mask and artwork are both selected and that the mask is placed on top of the artwork.
Problem 2: An incorrect portion of the image is visible. Edit the text within the mask and move the image within the clipping area.
Problem 3: The mask’s form disappears. This is common in a lot of instances. Illustrator applies the path as a clipping path, and the original fill and stroke might not be seen. If your design requires an outline, you may put that in a separate outline.
You’d like to create multiple masks for a set of shapes. Click on the shapes and group them together (windows: Ctrl+G, macOS: Command+G). Position the clipping path above the group, select both, and create the mask.
Start Practising with Simple Designs
The best way to learn to do clipping masks in Adobe Illustrator is to do some simple applications. Display a photo in a circle, cut out a photo in a star shape, and try to fill text with a photo.
Once you understand how the clipping path controls visibility, you can apply the technique to more complex layouts and illustrations.
Remember the basic rule: place your mask above the artwork, select both, and choose Object → Clipping Mask → Make. Your hidden content remains editable, giving you more flexibility as your design develops.